
The Tools We Use to Teach Piece-to-Camera Delivery
A look at the scripts, prompts, monitors and recorded playback we rely on in On-Camera Reporting sessions, and why each one earns its place in the room.
Helen Marsh · · 6 minutes to read
Why we favour simple tools
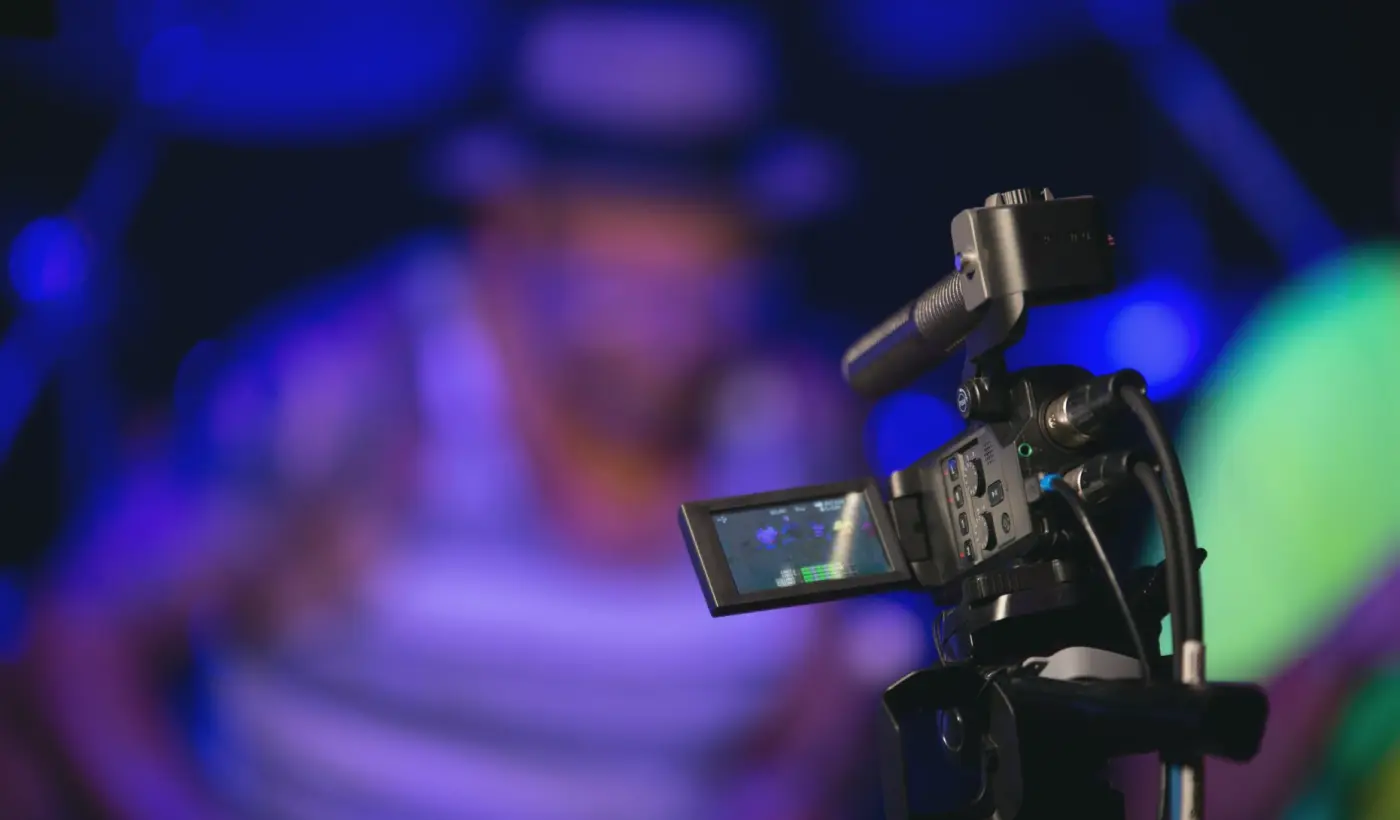
When people picture a reporting course, they often imagine expensive studio equipment. In practice, the methods we lean on most in our On-Camera Reporting sessions are plain ones: a printed script, a pencil, a tripod, a camera and a monitor that shows the student what the viewer will see. Each of them does one job, and none of them gets in the way of the person speaking.
I came to this view after years in broadcast news, where the pressure of a live slot teaches you quickly which habits help and which only add noise. A reporter who has practised with a few reliable tools can carry them into a wet car park or a crowded corridor. A reporter who has relied on a clever gadget often cannot.
So we keep the kit list short and teach students to use it well. The sections below describe what is in the room, how we use it, and what each piece lets us see that we could not see otherwise.
- Printed scripts and pencils
- Tripod, camera and a flip-out monitor
- Recorded playback after every attempt
- A small handheld microphone
The script on paper, marked by hand
Every student writes their piece on paper first. We ask for short lines, one idea each, written the way a person speaks to a neighbour rather than the way a report reads on a page. Then we mark the script together with a pencil: slashes where a breath goes, underlines on the words that carry the meaning, and a circle round any phrase the student stumbles over.
Paper matters because it can be marked quickly and carried anywhere. It also stops students from hiding behind a screen. When the script is in your hand, you learn how much of it you really need to look at, and that number is usually smaller than people expect.
Over a few weeks the markings change. Early scripts are heavy with slashes and corrections; later ones are almost clean, because the student has absorbed the rhythm and trusts it.
Recorded playback as the main teacher
The most useful tool we have is the replay. Each piece to camera is recorded, and the student watches it straight afterwards, usually with a tutor beside them and the sound up. Most people are surprised by what they see: a glance away at the wrong moment, a hand that drifts, a sentence that sounded confident in the head and arrives rushed on screen.
We keep the feedback to two or three points per take, because a long list teaches nothing. One note about pace, one about where the eyes go, perhaps one about how the opening line lands. The student then records again, and the comparison between first and second take does most of the teaching.
Working presenters sit in on these sessions and watch alongside us. Their comments tend to be practical and specific, and students often remember them long after the course has finished.
- Watch the take straight away
- Limit notes to two or three points
- Record again and compare
The monitor, the tripod and the framing
A flip-out monitor on the camera lets a student check their own framing before recording, which sounds minor but changes how they work. They learn to leave comfortable space above the head, to keep the background from growing a lamp post out of their shoulder, and to notice when the light has shifted between takes.
The tripod is there for consistency. Fixed framing means that any difference between two takes comes from the performance rather than from the camera, so the feedback stays honest. We move to handheld and to working with an operator later, once the basics of delivery are steady.
In mid autumn we use the courtyard more, because the low sun and the changing cloud give students a realistic reason to check exposure and sound each time before they begin.
Microphone habits that carry into the field
We teach microphone handling with an ordinary handheld model, because that is what many early-career reporters meet first. Students learn to hold it at a steady distance below the chin, to keep it still while they talk, and to bring it back to their own mouth after a question rather than letting it hang in the air.
It is a small discipline, and it shows. A microphone that wanders makes the voice rise and fall in the recording, however even the delivery was. We also practise speaking over background noise, so students find out in a classroom what a busy road will do to their sentences, not on their first assignment.
The aim is for the equipment to disappear from the student's attention, so that what remains is the story and the person telling it.
What we leave out on purpose
There are things we deliberately do not use. We do not give students a scrolling prompter in the early weeks, because it teaches them to read at the lens rather than speak to it. We do not hand out a fixed template for how a piece should sound, because it produces reporters who all sound the same.
What we ask for instead is a clear idea, a short script, and the willingness to watch yourself back and change something. Those habits cost nothing and last a career. They also make the later courses, such as live coverage and interview work, easier to build on, since the student already knows how they come across.
If you are deciding whether this course suits you, the question to ask is not whether you have broadcast experience. It is whether you are ready to look at your own recordings and improve them, one take at a time.
The methods behind our reporting sessions are modest on purpose: paper scripts marked by hand, a fixed camera, a monitor, a plain microphone and recorded playback with a tutor beside you. None of it is complicated, and that is the point. Students leave knowing how to prepare and how to review their own work, which they can do anywhere, with whatever equipment a newsroom hands them.