
Five Field Camera Mistakes and How to Avoid Them
Shaky handheld shots, blown skies and thin audio cost reporters usable footage. Here are five common field camera mistakes we see in training and the habits that prevent them.
Tom Whitaker · · 5 minutes to read
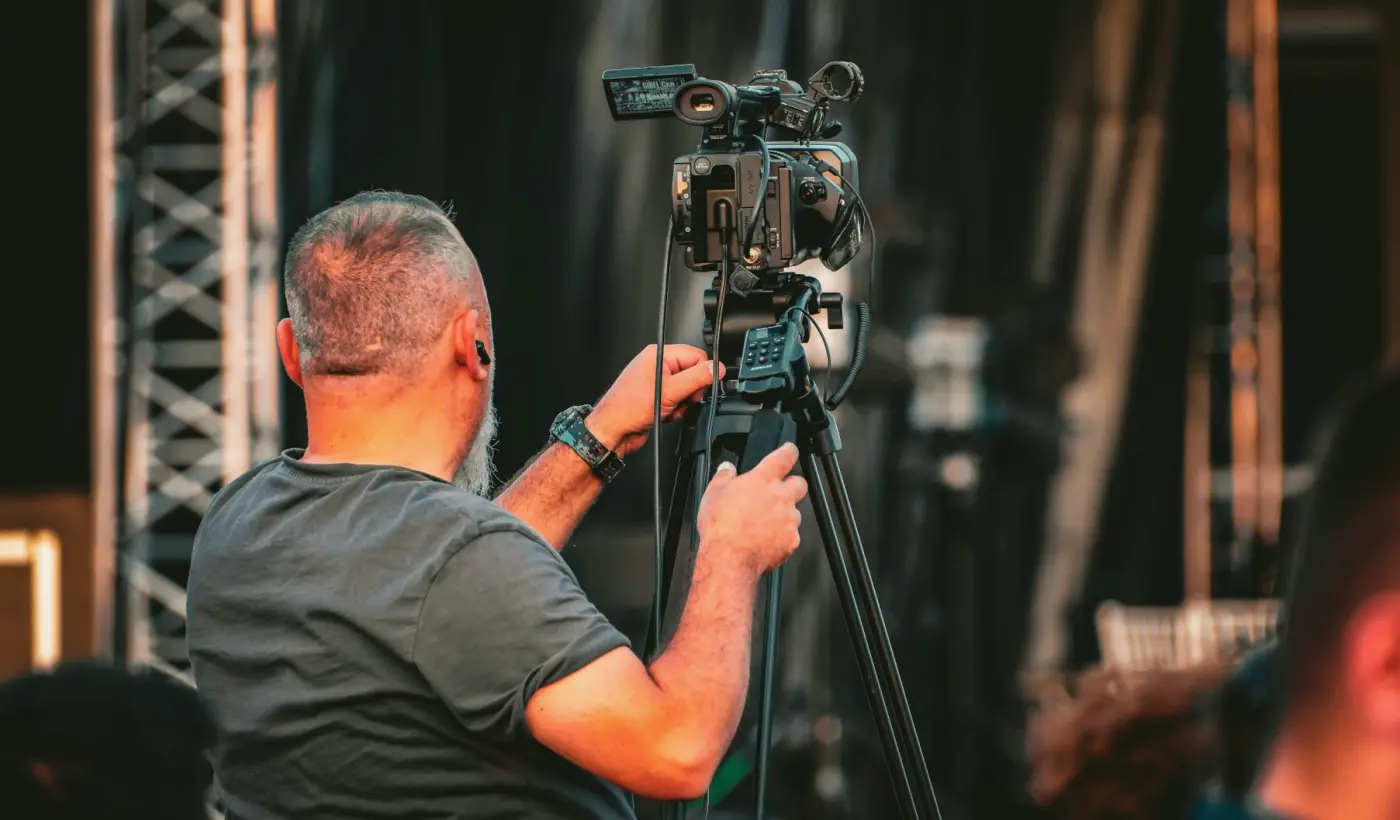
1. Handheld movement with no purpose
The most common fault we see in the first week is a camera that drifts. A student holds the shoulder-mounted camera loosely, follows the reporter with small corrections, and ends up with footage that feels nervous rather than alive. Handheld work is meant to look steady enough to disappear, so the viewer follows the story and not the operator.
The fix starts with the body, not the camera. Plant your feet shoulder-width apart, tuck the elbows in, and let the knees do the absorbing when you walk. Breathe out slowly as you begin a move. In supervised sessions Daniel Okoye has students walk a fixed route with the lens zoomed wide, because a wide lens forgives small wobbles while the habit forms.
Before you press record, decide where the shot starts and where it ends. A move with a clear start and finish looks intended, even when it is slightly rough.
- Feet apart, elbows tucked, knees soft
- Shoot wide while the habit forms
- Know the end frame before you start
2. Trusting auto exposure in changing light
Mid autumn is a good test of exposure. The sun drops low, cloud moves quickly, and a street can swing from flat grey to hard gold within a single interview. Auto exposure follows every change, so faces brighten and darken mid-sentence and the edit becomes a patchwork.
Learn to lock exposure once the reporter is in position, then check it against the brightest and darkest parts of the frame. Zebra stripes or a histogram, if your camera has them, show you what the eye forgives and the sensor does not. A white sky behind a reporter will often burn out completely if you expose for the face without thinking.
If the light is changing faster than you can manage, move the subject. Turning them a quarter-turn out of direct sun usually helps more than any menu setting.
- Lock exposure once the subject is placed
- Read the histogram, not just the monitor
- Reposition the subject before fighting the light
3. Treating audio as something to fix later
Viewers will tolerate a slightly soft picture far longer than they will tolerate unclear speech. Yet many new operators spend their attention on the image and trust the camera's built-in microphone to cope. On a busy road or beside a market stall it rarely does.
Wear headphones every time you record, and listen for the things the eye misses: a generator hum, a passing bus, wind across the capsule. Place the microphone close to the speaker, ideally within a hand's width of the mouth for a stick interview, and set levels so the loudest moments peak well below clipping.
Record a few seconds of room or street tone before you leave a location. That clean bed of sound gives the editor something to lay under cuts, and it saves a good many awkward jumps in the finished package.
- Headphones on, always
- Microphone close to the speaker
- Capture natural sound before you leave
4. Framing that ignores the edit
Good framing is not only about a pleasing single shot. It is about giving the editor material that cuts together. A common mistake is shooting everything at the same distance and angle, so the sequence has no variety and every join looks like a jump.
Think in a small set of shots: a wide to set the place, a medium on the action, a close detail that carries meaning. Hold each one longer than feels comfortable, at least ten seconds, so there is room to trim at both ends. Leave some headroom and avoid cutting through the face at the forehead or the chin.
Tom Whitaker, who teaches the editing side, often asks students to cut their own field footage in week two. Nothing teaches framing faster than discovering you have no cutaway for the sentence that needs one.
- Wide, medium and detail for each scene
- Hold every shot for ten seconds or more
- Watch headroom and where the frame cuts the face
5. Arriving without checking the kit
Many lost shoots trace back to something small and avoidable: a battery left on charge at the office, a card still full from last week, a lens cap in a pocket, a microphone cable that fails only when it is bent. In a news situation there is rarely a second chance to ask someone to repeat what they said.
Build a short routine and run it the same way every time. Check batteries and spare cards, format media in the camera, test the microphone and headphones, confirm white balance and focus, and record ten seconds you play back before leaving the car park.
The routine takes a few minutes and becomes automatic with practice. It also frees your attention for the thing that matters once you arrive, which is the story in front of the lens.
None of these mistakes is a sign that someone is not cut out for the work. They are the ordinary lessons of learning to shoot news in unpredictable places, and each has a habit that answers it. Practise one at a time, review your footage honestly, and ask for a second pair of eyes. Small, repeated corrections, made in good light and bad, are what turn a nervous beginner into an operator reporters want beside them.